Before you start: choose the right app based on what you want to get
The most important thing, even before importing your track, is to choose the app based on your expected result (the instrument you want as the output).
For example:
-
You want piano sheet music or a piano MIDI file? => Go to PianoConvert
-
You want guitar tabs/sheet music? => Go to GuitarConvert
-
You want a cappella vocal sheet music? => Go to SingConvert
-
You want a score with one staff per instrument in your audio? => Go to BandConvert
-
Etc.
Table of available apps based on your goals
|
🎯 Your goal (output instrument) |
✅ App to use |
📦 What you get |
|---|---|---|
|
🎹 Piano |
PianoConvert |
Solo piano sheet music (PDF) + MIDI + MusicXML |
|
🎸 Guitar |
GuitarConvert |
Sheet music + tablature (PDF) + MIDI + MusicXML |
|
🎤 Vocals (a cappella) |
SingConvert |
Vocal sheet music (PDF) + MIDI + MusicXML |
|
🎼 Multi-instrument (1 staff per instrument) |
BandConvert |
Multi-instrument score + MIDI + MusicXML |
|
🥁 Drums |
DrumConvert |
Drum notation + MIDI + MusicXML |
|
🎻 Violin |
ViolinConvert |
Violin sheet music + MIDI + MusicXML |
|
🎷 Saxophone |
SaxConvert |
Sax sheet music + MIDI + MusicXML |
|
🪈 Flute |
FluteConvert |
Flute sheet music + MIDI + MusicXML |
|
🎸 Bass |
BassConvert |
Bass sheet music + tablature (depending on the app) + MIDI + MusicXML |
|
🎺 Trumpet |
TrumpetConvert |
Trumpet sheet music + MIDI + MusicXML |
|
🎹 Organ |
OrganConvert |
Organ sheet music + MIDI + MusicXML |
If you’re not sure, see the article “Which app should I choose based on my goal (piano, guitar, sax, vocals…)”.
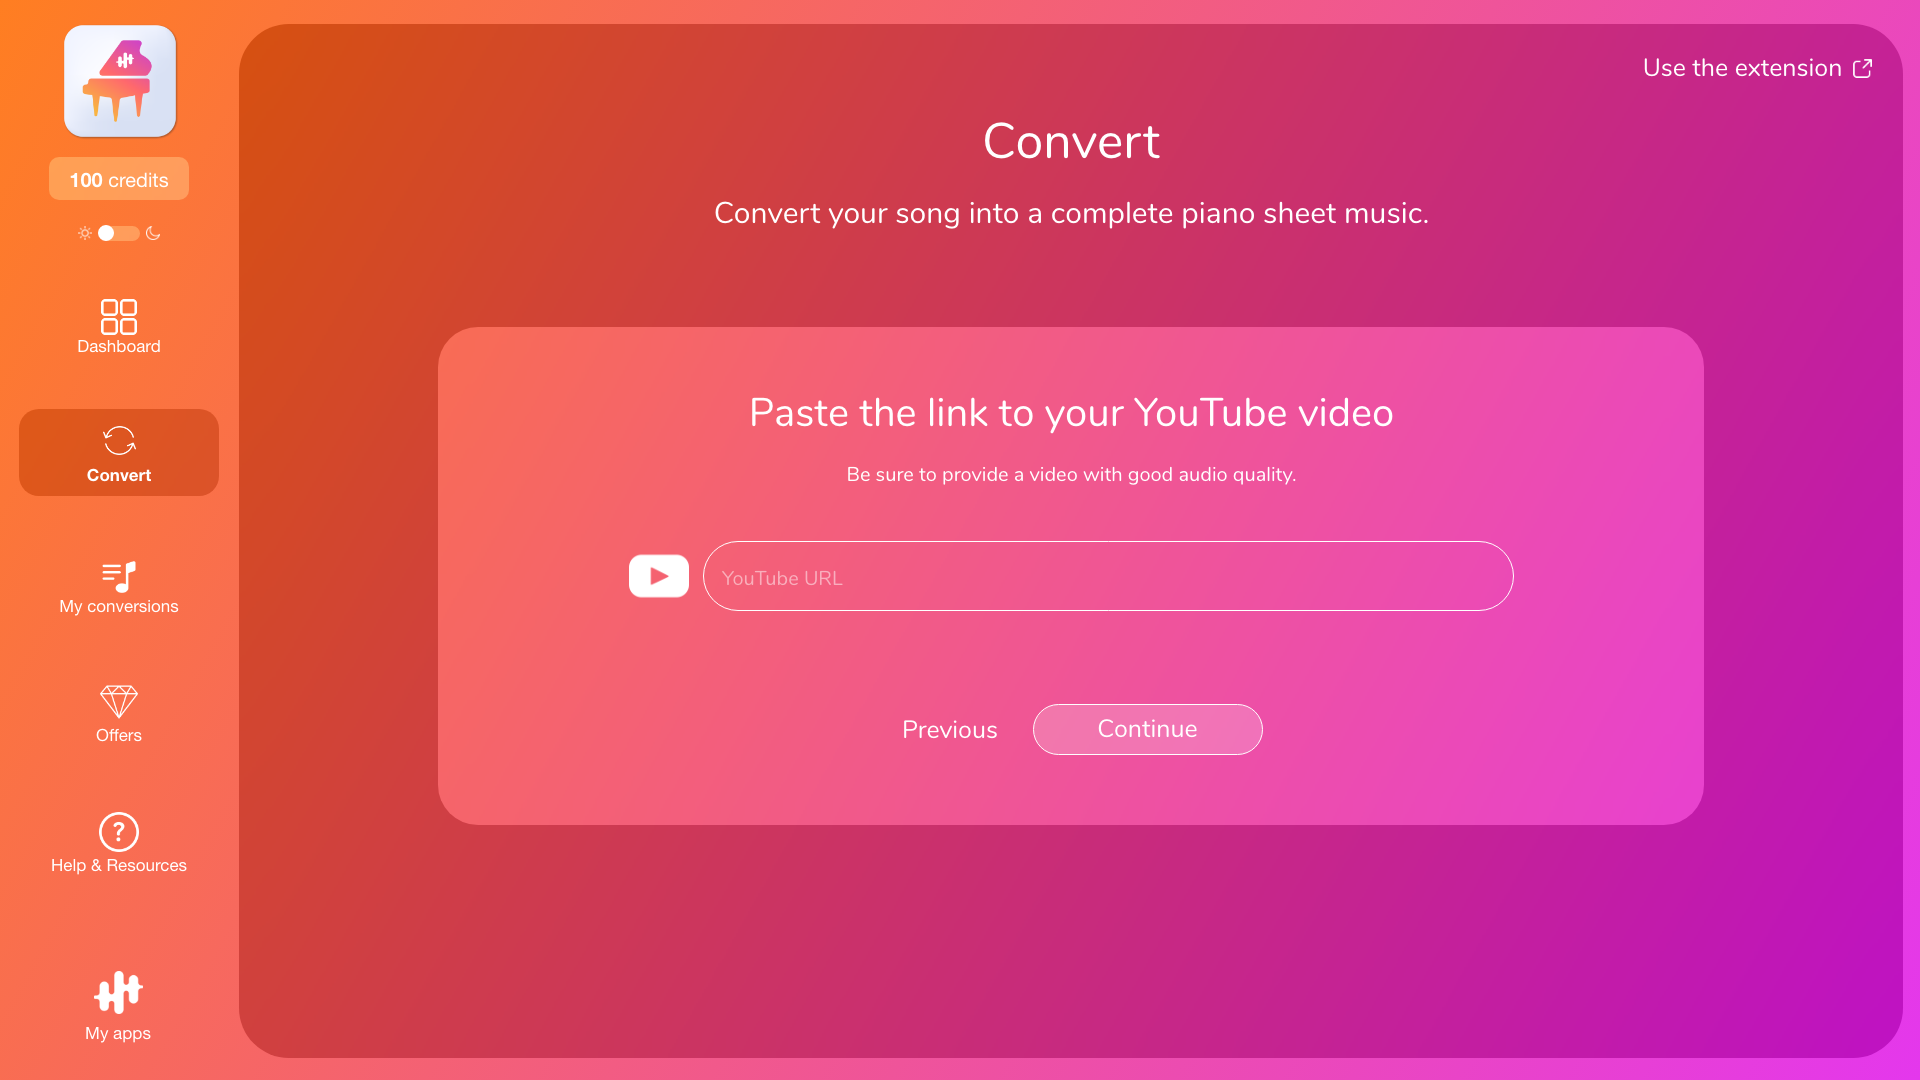
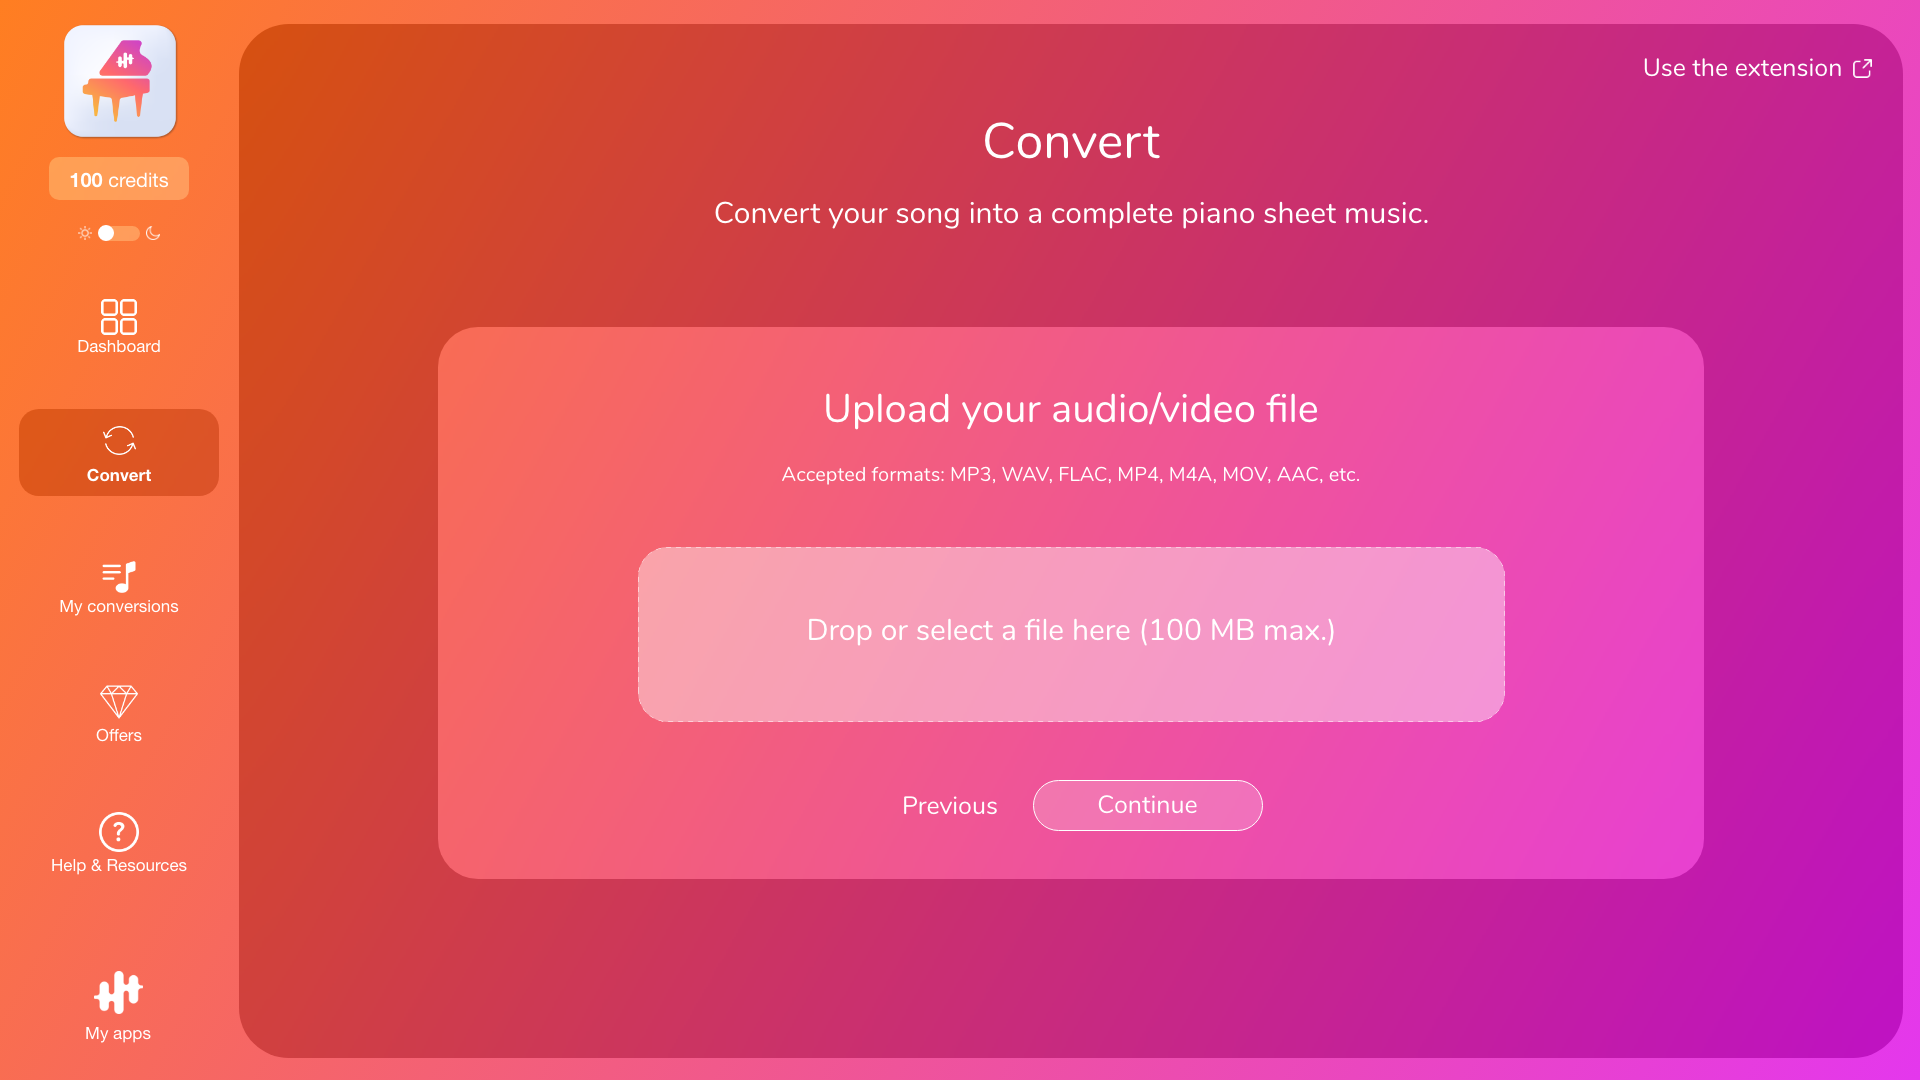
1) Import your music
Once you’ve defined your goal and chosen your app, you can start by importing your music into the app, either by uploading a file (audio or video) or by pasting a YouTube link to your track, depending on what the app supports.
If you encounter a problem during import (unsupported format, file too large, invalid YouTube link), see the article “Importing a file or YouTube link: supported formats, size, common problems.”
Note: To prevent excessively long processing times and potential issues, imported tracks are limited by duration (YouTube videos) and by file size (audio/video files): up to 15 minutes for a YouTube video, and up to 100 MB and 15 minutes for an audio or video file.
2) Choosing the right mode (in 10 seconds)
Before you choose, ask yourself one simple question:
Do you want to…
-
Transcribe your instrument exactly as it’s played in the audio (note by note)
or
-
Get a playable version of the song adapted to your instrument (melody + accompaniment)?
-
If you choose 2 → Arrangement / Melody
-
If you choose 1 → Transcription, then choose based on what’s in your audio (solo vs mix)
Mode A — Solo Instrument Transcription (note by note)
Choose this if:
-
your audio contains only the app’s target instrument, with no vocals or other instruments.
What you get:
-
a note-by-note transcription of everything played by the instrument in the audio.
What to expect:
-
this is the most accurate mode when the instrument is truly solo.
Avoid this mode if:
-
there are vocals, drums, bass, guitar, etc. in addition to your target instrument (even quietly in the background).
Mode B — Instrument Isolation (mix) + Transcription (note by note)
Choose this if:
-
your audio contains multiple instruments, including the app’s target instrument.
What you get:
-
a note-by-note transcription of your instrument part, isolated as much as possible from the rest of the mix.
Important (to avoid disappointment):
-
quality depends heavily on the mix: the louder and more forward your instrument is, the fewer notes will be missed.
When this mode may be less effective:
-
your instrument is very quiet, the mix is heavily compressed, there’s lots of reverb, or instruments blend together (e.g., piano + pads + guitar).
Mode C — Arrangement / Melody (playable adapted version)
Choose this if:
-
your audio is a produced song / complex mix (often pop with vocals), and you want a playable version for your instrument, even if that instrument isn’t present in the audio.
What you get:
-
the main melody + a tailored accompaniment (range, playability, voicings, etc.) to produce a “playable” sheet.
Why this is often the best choice for a full mix:
-
on a full mix, note-by-note transcription can miss notes.
-
arrangement focuses on a musical, playable result, which is usually more reliable in these cases.
Default recommendation
-
solo-instrument audio → Solo Transcription
-
multi-instrument audio (mix) → Isolation (mix) if you want your instrument exactly as played, otherwise Arrangement if you want a playable sheet.
Quick decision guide
1. Do you want to transcribe your instrument exactly as it’s played?
-
yes → (2)
-
no, I want a playable version of the song → Arrangement / Melody
2. In the audio, is your instrument alone?
-
yes → Solo Instrument Transcription
-
no, there are other instruments/vocals → Instrument Isolation (mix) + Transcription
Example (PianoConvert) — avoiding the wrong expectations
You’re using PianoConvert because you want piano sheet music.
-
I want a playable piano version of the song (melody + chords)
→ Arrangement / Melody
-
I want the piano exactly as it’s played in the recording (note by note)
→ Your audio contains:
-
piano only → Solo Piano
-
piano + vocals/guitar/drums… (piano clearly audible) → Piano Isolation (mix)
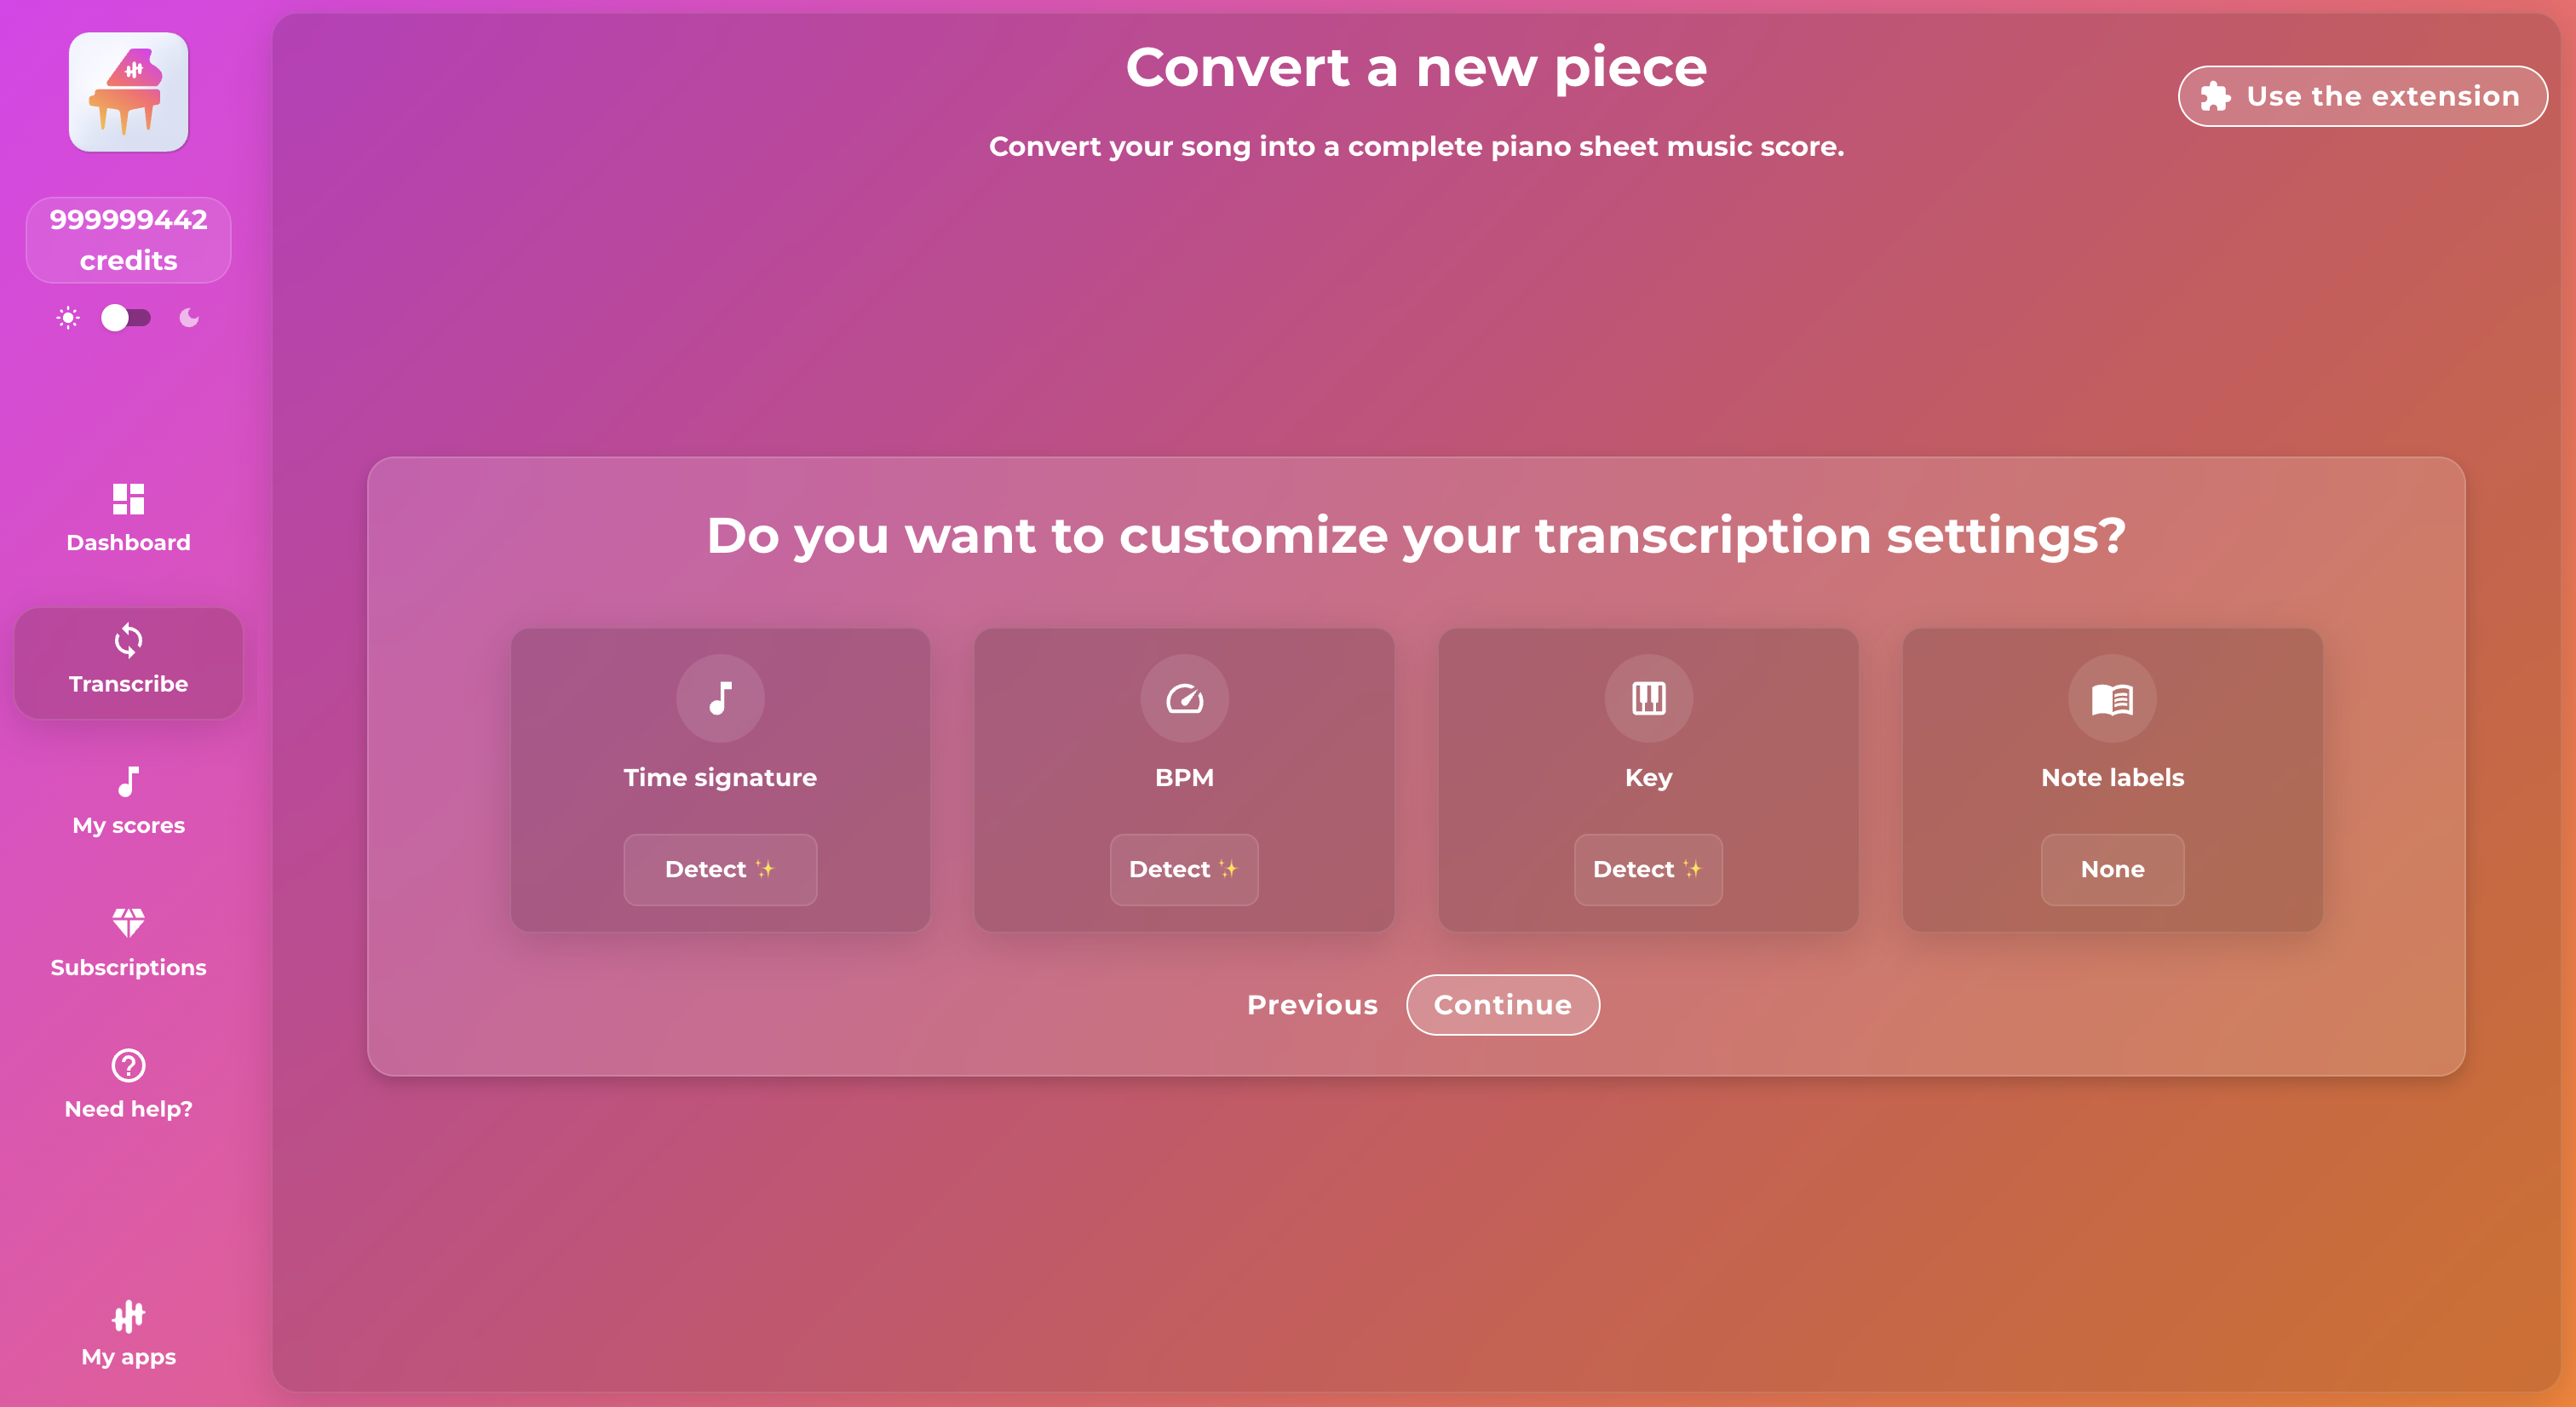
3) Adjust conversion options (optional)
Depending on the app and mode you choose, you can customize a few settings before starting the conversion. In general, the app can detect them automatically, but you can also adjust them manually if you know them for a more accurate result that meets your expectations.
- Time signature: 4/4, 3/4, etc.
- BPM (tempo): speed of the song.
- Key signature: key signature, main key.
- Difficulty: option available for arrangement (to adapt playability): easy, intermediate, original (version closest to the audio - can sometimes be difficult to play).
- Reading Aids: Display reading aids directly above the staves of your score: None (default): nothing is displayed above the staves / Chord Symbols: displays chords above the score (chords detected from your audio) / Note Names (A-G): displays notes using international notation / Note Names (Do-Re-Mi): displays notes using solfège notation.
If you are unsure, leave the automatic detection option selected.
3) Start the conversion
Once you have confirmed your choices, start the conversion. The app processes your music and generates the corresponding files.
4) Download your files
When the conversion is complete, you can access your results and download your files (PDF, MIDI, MusicXML, tablature depending on the app). You can also find all your conversions in your account (“My conversions” / “My transcriptions”).
To go further
- Difference between modes: “Transcription vs. Arrangement: what's the difference?”
- Import issues: “Importing a file or YouTube link: accepted formats, size, common issues”
- Retrieve your files: “Download your files (PDF, MIDI, MusicXML) and find your conversions”