1) Playback vs. Edit: Understanding the Two Modes
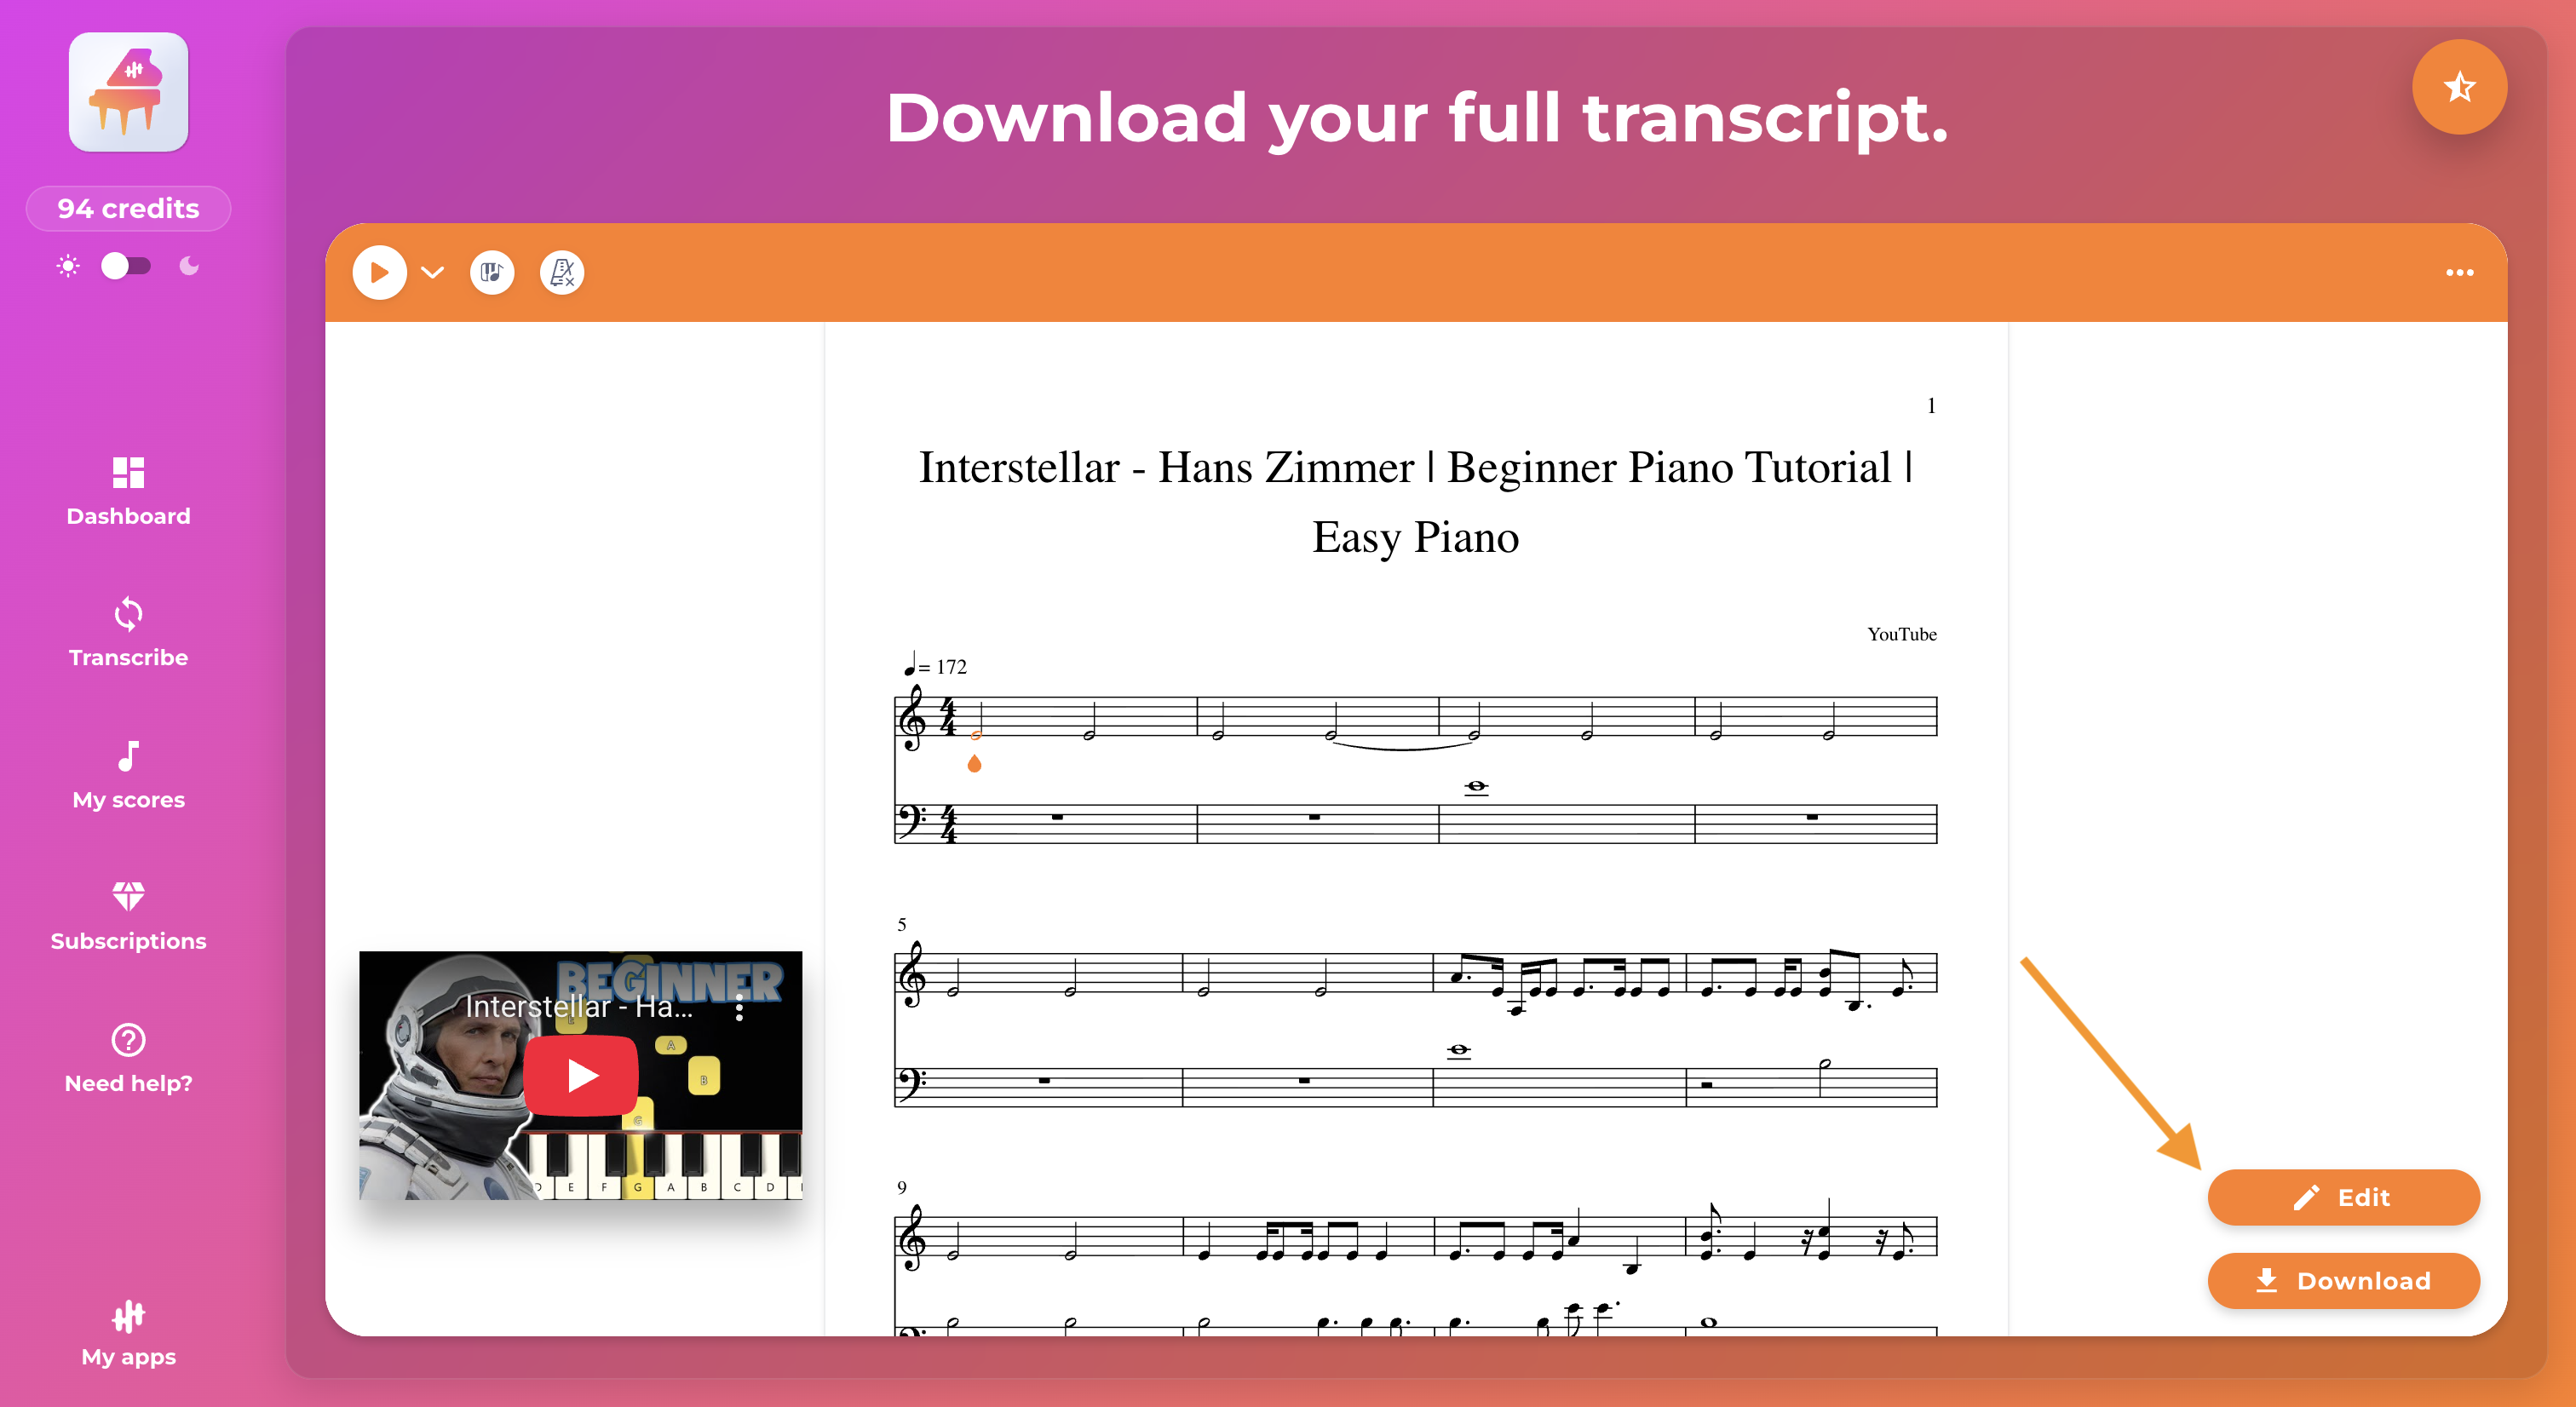
When you open a score after conversion, it will appear in Playback mode by default. You can view, browse, and listen to it, but you cannot edit it.
To edit the score, activate Edit mode:
- Click on the “Edit” button located at the bottom right of the score.
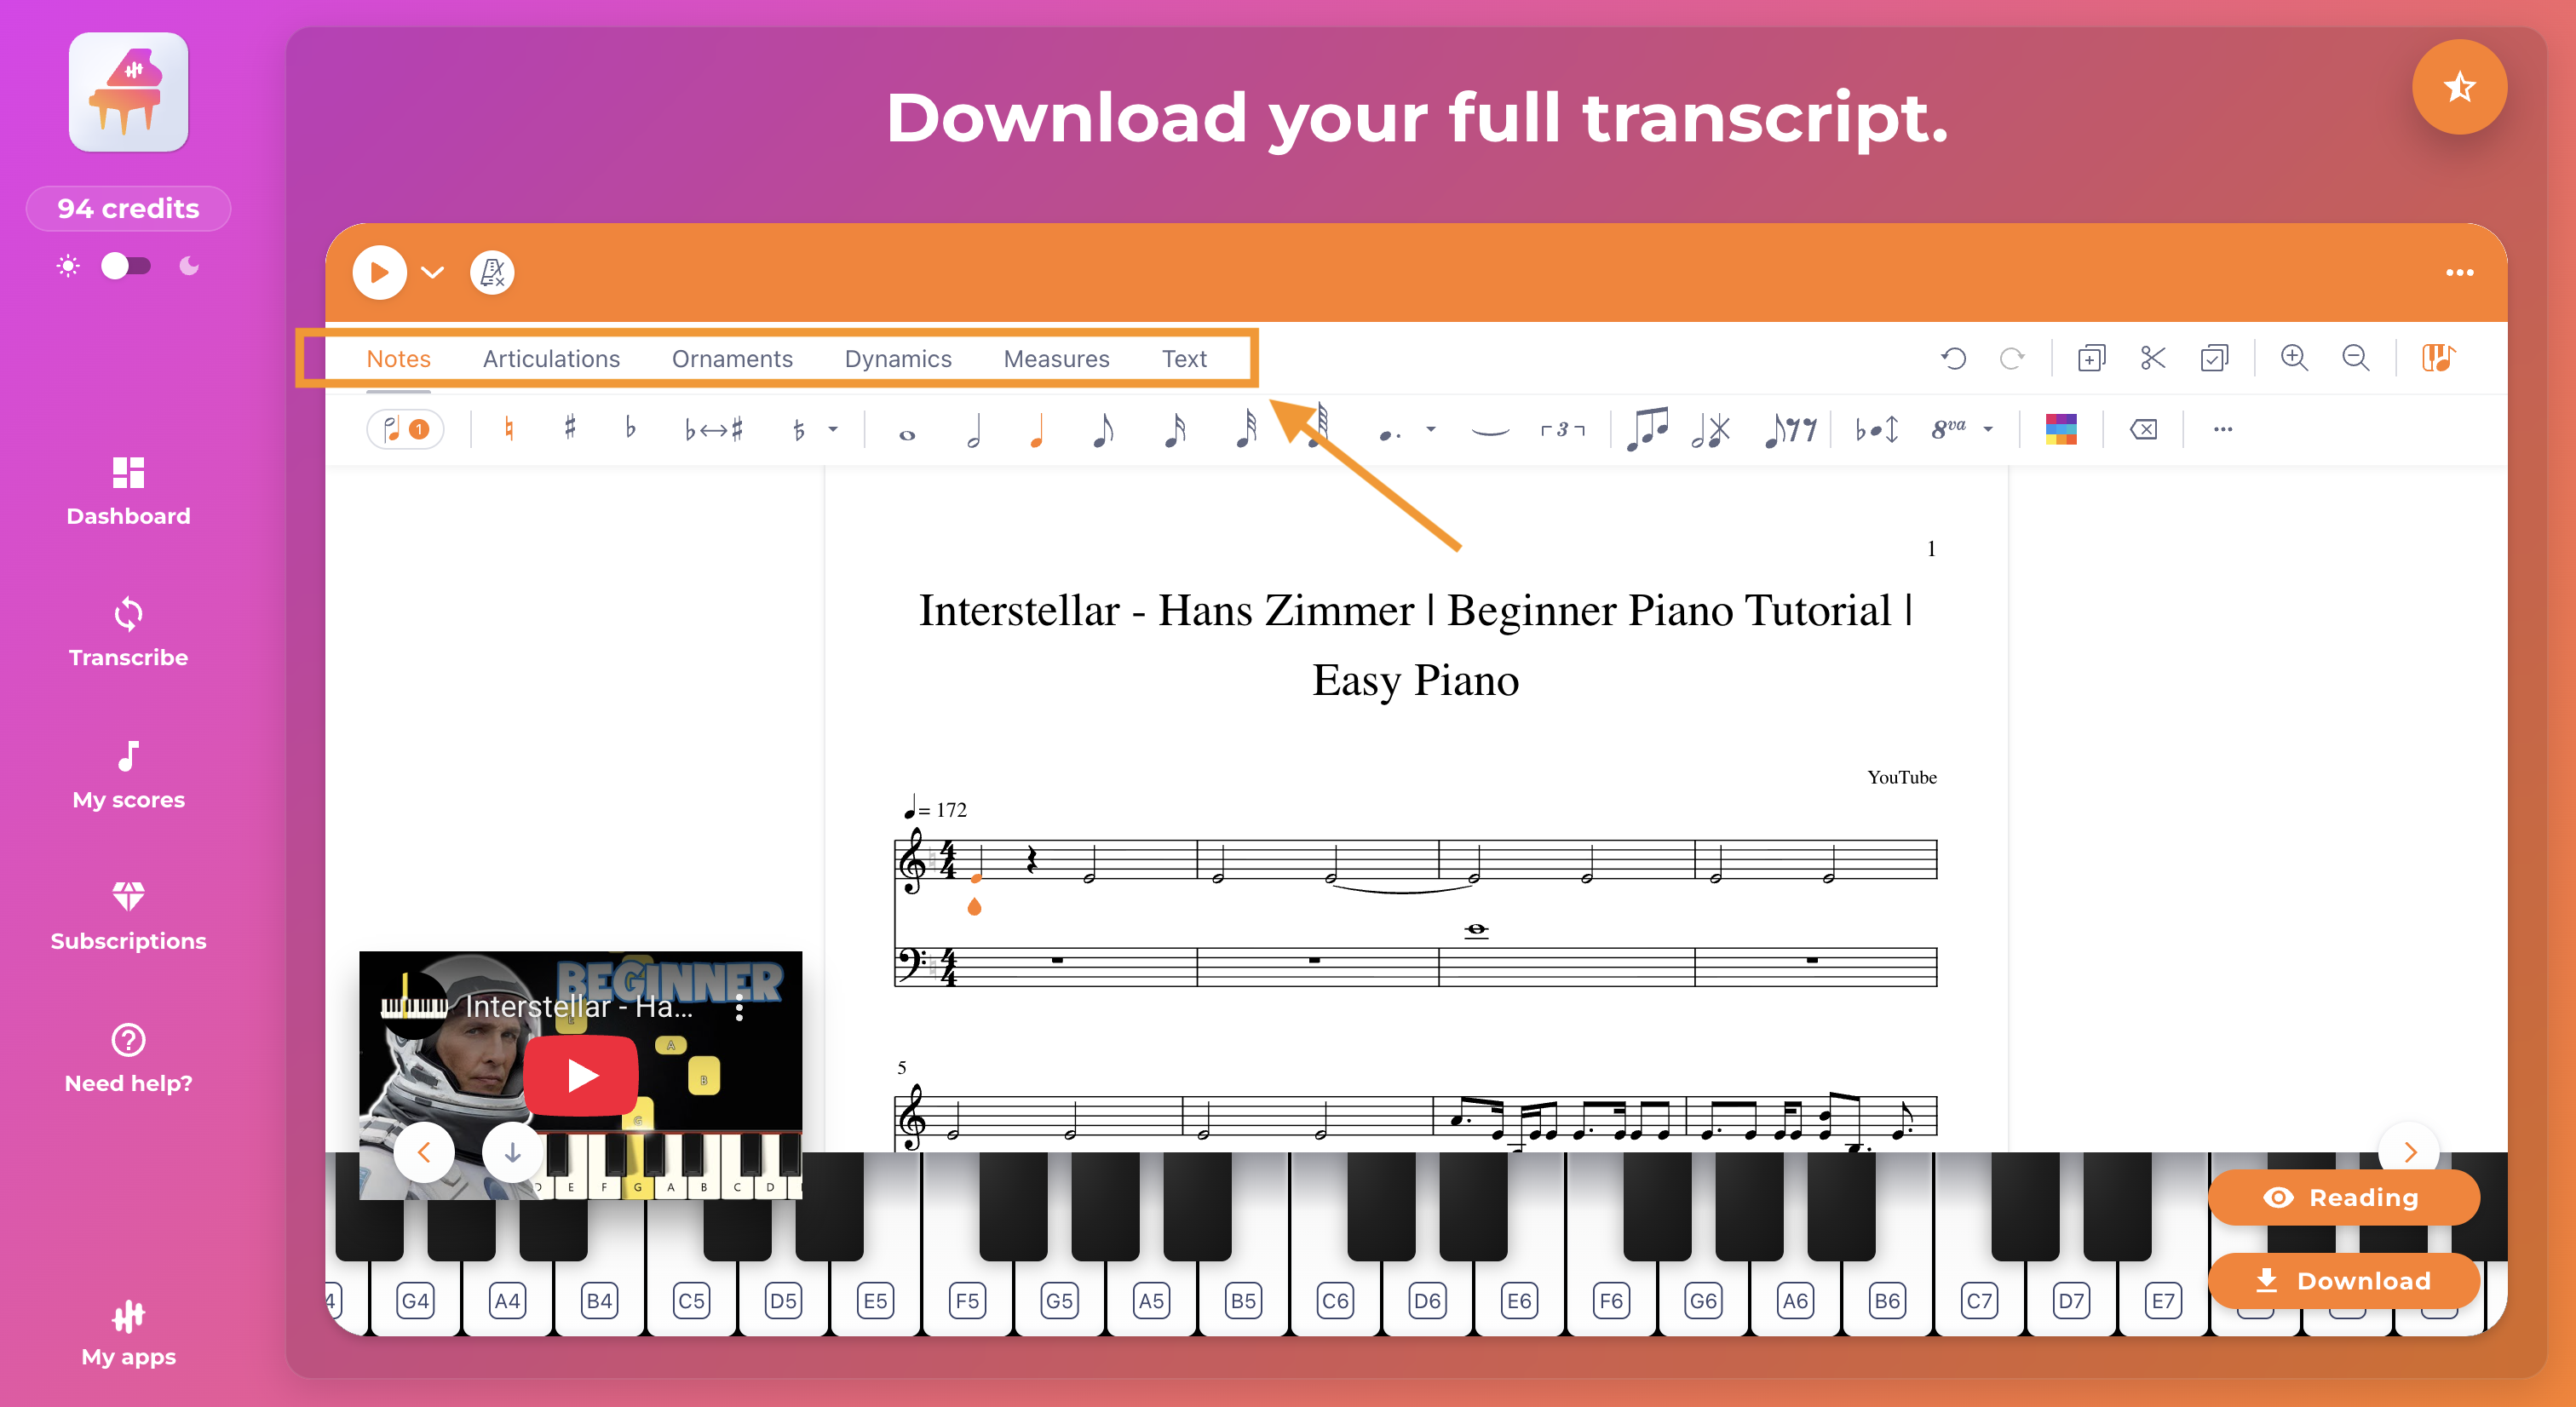
- The interface will change: the editing tools will appear at the top (notes, rests, measures, tempo, etc.).
- You can then correct the score directly in the app.
2) What you can actually correct
The editor allows you to make most useful corrections after transcription or arrangement, including:
Notes and rhythm
- add, delete, or move notes
- change their durations
- add rests
- correct common notation elements (accidentals, slurs, tie bars, etc.)
Formatting and readability
Depending on the score, you can also improve readability by adjusting the layout (using the options available in the editor).
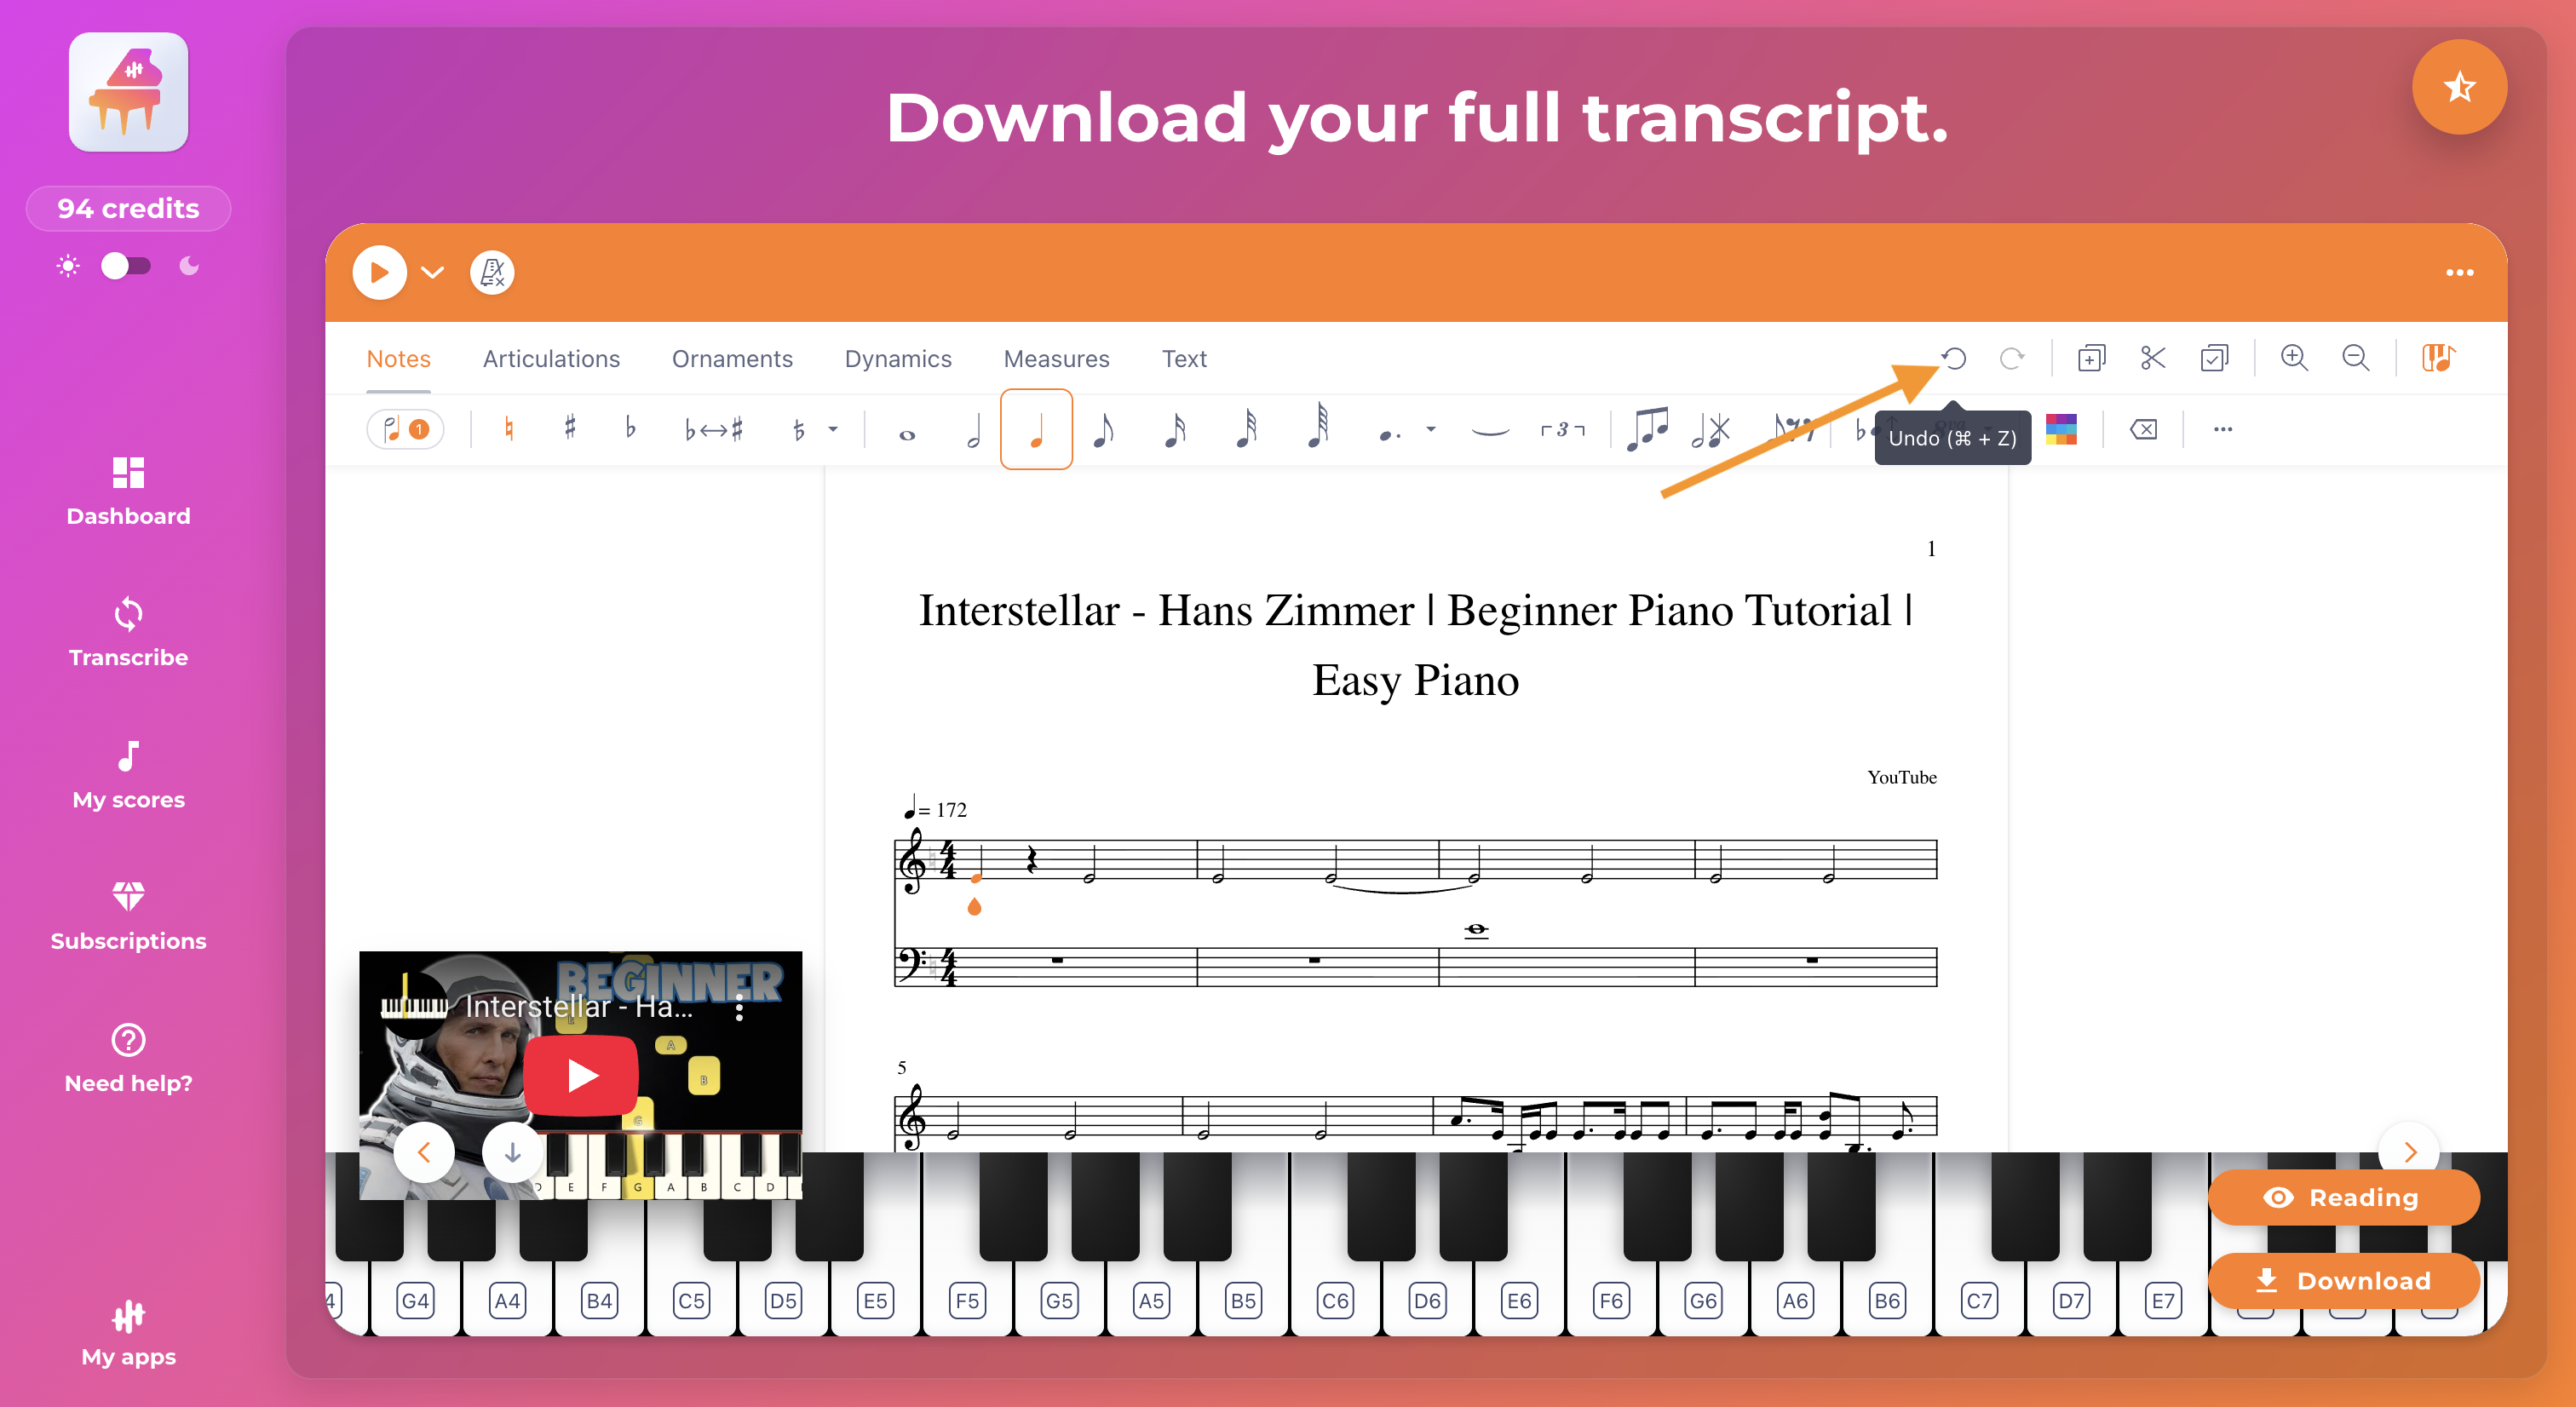
3) Going back (undoing an action)
If you make a mistake or want to go back to the previous step, you can use the Back button in the form of an arrow in the editing interface (at the top of the score).
This is the easiest way to undo your last actions.
4) Your files are updated automatically (PDF, MIDI, MusicXML)
Important point: every change is applied immediately.
When you change a note, a rhythm, a rest, a measure, etc.:
- your displayed score is updated,
- and your PDF, MIDI, and MusicXML files are updated at the same time.
Result: no need to “save” before downloading. You make your corrections, then download, and you automatically retrieve the files corresponding to the latest version of your score.
5) When to use the editor (and when to avoid it)
The editor is ideal when your conversion is generally good, but there are still a few errors to correct, for example:
- a few wrong notes
- a measure that “sticks”
- a duration that needs to be adjusted
- formatting that needs to be improved for readability
On the other hand, if the score is very different from what you expected (inconsistent rhythm throughout, notes that are very far apart, instrument that does not match, rendering that is too incomplete, etc.), it is often faster to review the conversion rather than correct everything by hand.
In this case, the best course of action is to:
- try another version of the piece (if available)
- change the mode (Transcription vs. Arrangement)
- check that you are using the right app (expected output instrument)
- correct the selected instruments before restarting
6) Listen to validate your corrections
After making a change, the best thing to do is to listen to the score to check:
- the rhythm
- the consistency of the notes
- any remaining errors
7) Access to editing: free vs. subscription
Free trial
- You can edit your first 10 free 30-second conversions.
- Beyond that, editing is blocked and requires a Premium subscription.
Note about the 30-second free trial
In free mode, the conversion covers a 30-second excerpt. Editing (when available) therefore applies to this excerpt, not the entire song.
If you have a Premium subscription, you can use the editing feature unlimited.
8) Quick best practices (to avoid frustration)
- Make a correction, listen, then continue. This is more reliable than correcting everything at once.
- If the display freezes or the editor stops responding, simply refreshing the page will often solve the problem.
9) Download your files after editing
Once you have made your corrections, you can download your files (depending on the app):
- MIDI
- MusicXML
- tablature (depending on the instrument)
Since everything is updated automatically, you will always get the most recent version when you download.
To go further
- Download your files (PDF, MIDI, MusicXML) and find your conversions
- Transcription vs. Arrangement: what's the difference?
- Which app to choose depending on your goal (piano, guitar, sax, voice, etc.)